
DISCLOSURE: THIS POST MAY CONTAIN AFFILIATE LINKS, WHICH MEANS I MAY EARN A COMMISSION IF YOU CLICK A LINK AND MAKE A PURCHASE. FEEL FREE TO CHECK OUT MY DISCLOSURE POLICY FOR MORE DETAILS.
As a student of permaculture, Aaron loves to find ways to use naturally occurring systems in our favor. I mean, who doesn’t want more free time? And fewer things breaking is a huge win! Since we have garden beds to irrigate and animals to hydrate, thoughtful rain water collection quickly became one of the more obvious systems to experiment with. The latest rain water prototype may be upgraded to a more permanent set up as it proves its usefulness and we continue to tweak our systems here at Fail Better Farms.
What does rain water collection look like on our farm?
We have four 55 gal water barrels and one 330 gal IBC tote tank set up at downspouts where needed on the property. When it rains, these guys fill up relatively quickly. It’s kind of shocking actually. For every 1” of rain and 1,000 square feet of surface, about 620 gallons can be captured. If the rain barrel is kept up slightly above the ground, we can irrigate on head pressure alone. When it’s warmer we’ll add BTI as a monthly pollinator-friendly mosquito control. (Read about how and why we use BTI here.)
Our current largest reservoir, the IBC tote tank (in photo below) is strategically located. We’re in agricultural zone 7A, meaning we should expect a few hard freezes throughout the winter. Our current solution is to keep the tank on the south-facing side of our garage, out of the biting cold north wind. Using gravity alone, this tank supplies the rain water stored for crops and/or animals.

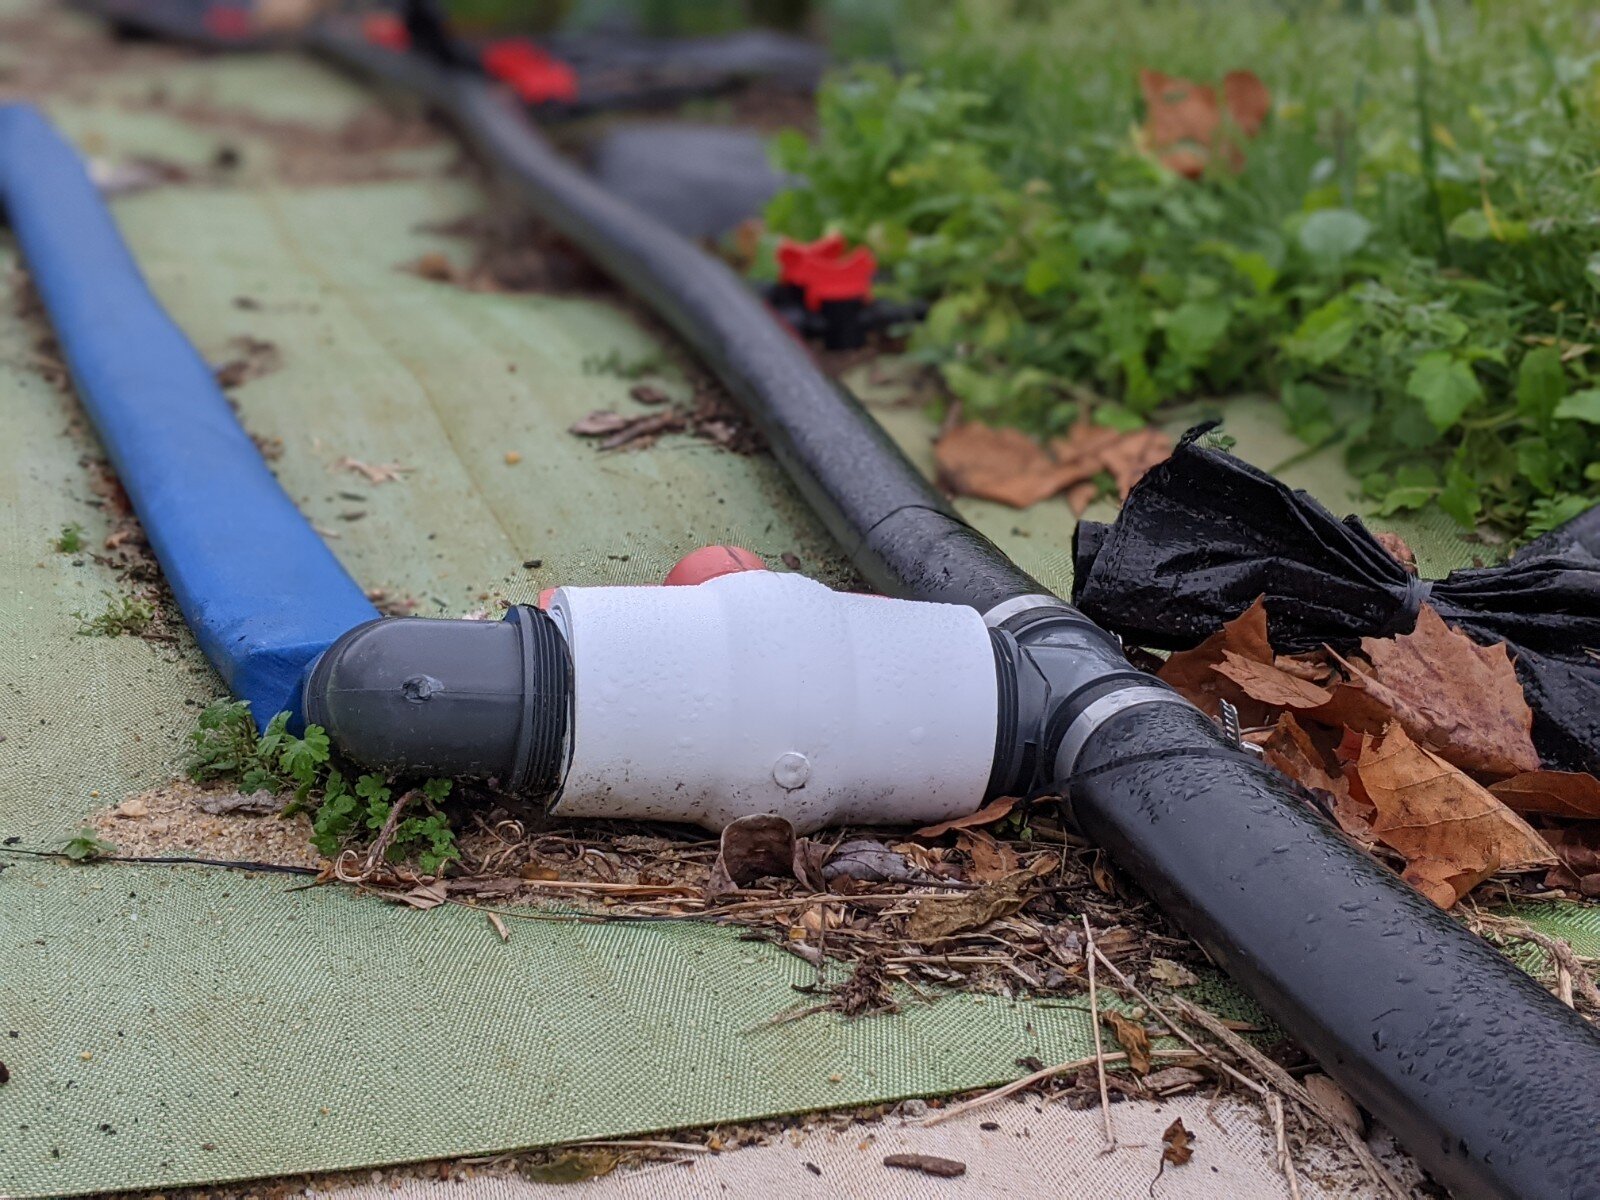
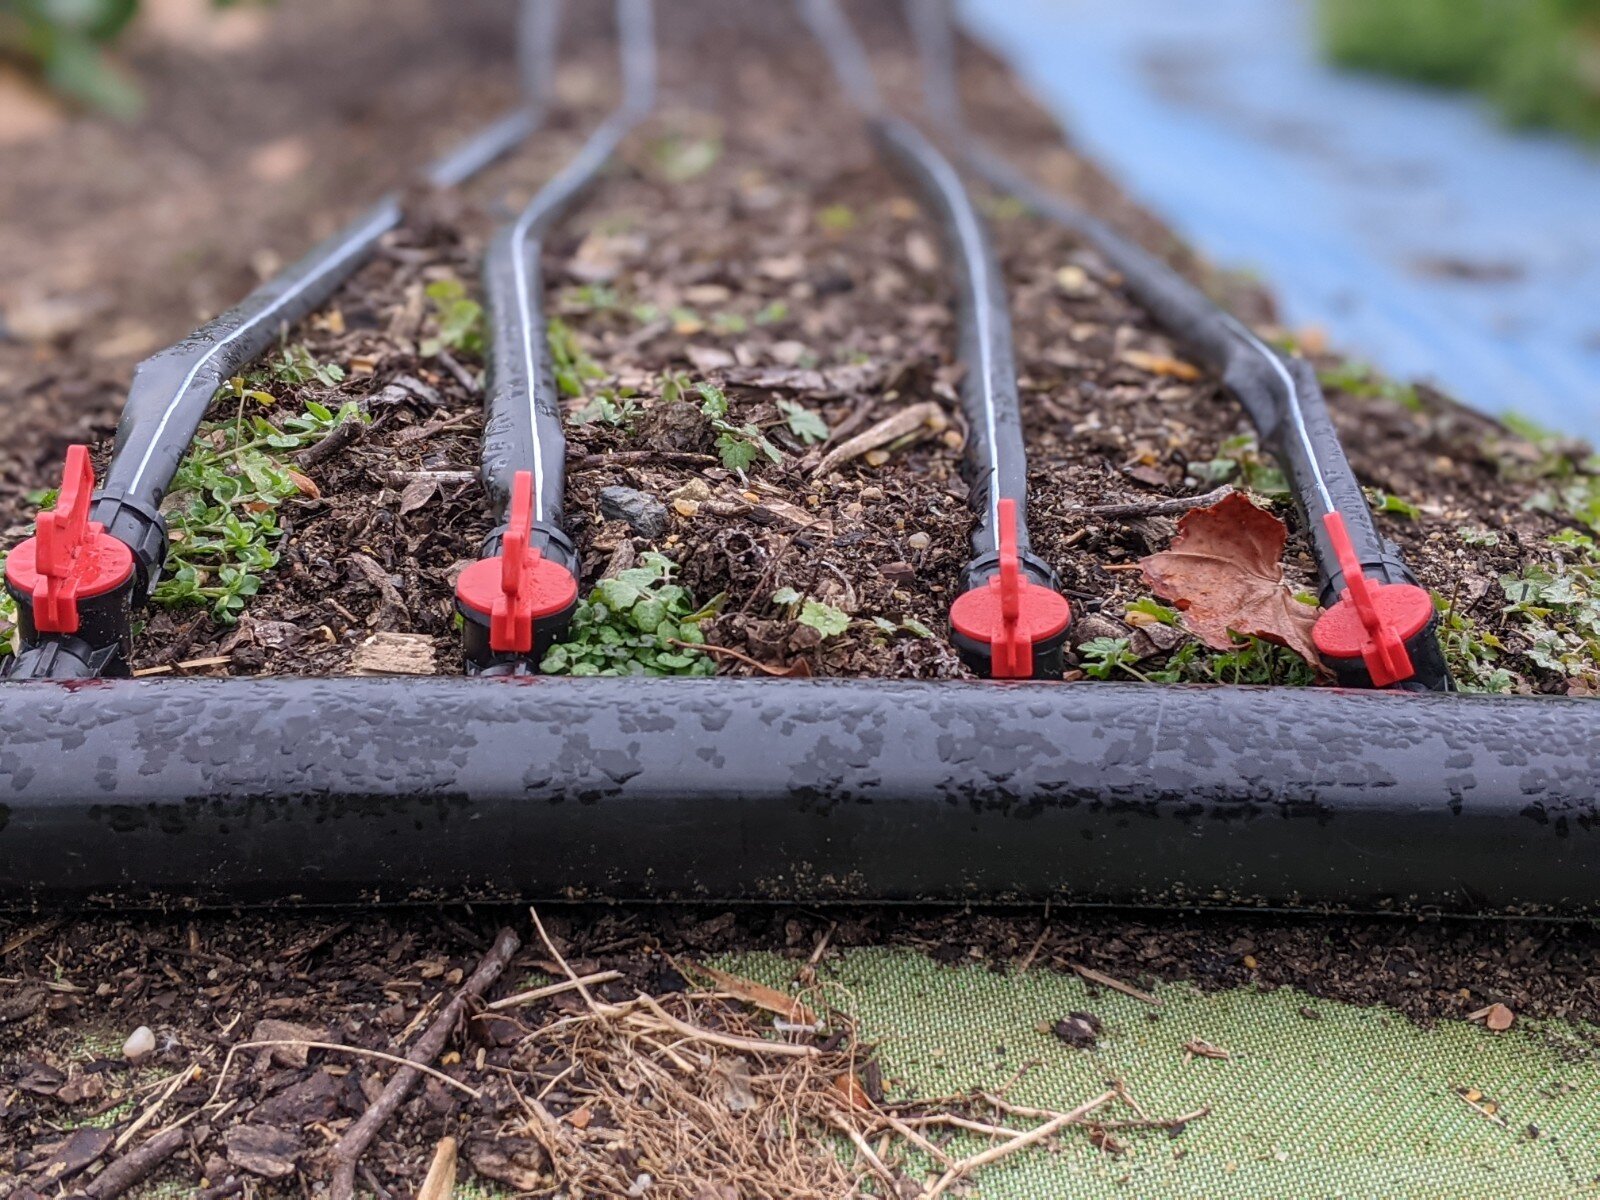
Water destined for the crops passes through an irrigation filter, a battery-operated irrigation timer (sometimes set to irrigate 3 times a day), and some layflat hose (blue hose seen in photos) before it arrives at on/off valves at the foot of every veggie row (so that only those actively growing get the water). A row of drip tape extends from every on /off valve (right photo below) down the row so every root zone gets a slow steady leak of water. This sounds like a lot, but aside from replacing a 9V battery once a year in the timer, this system has been boiled down to two constants: rain & gravity. Thus, there are NO moving parts to break or be replaced. Win!
Pup Proofing
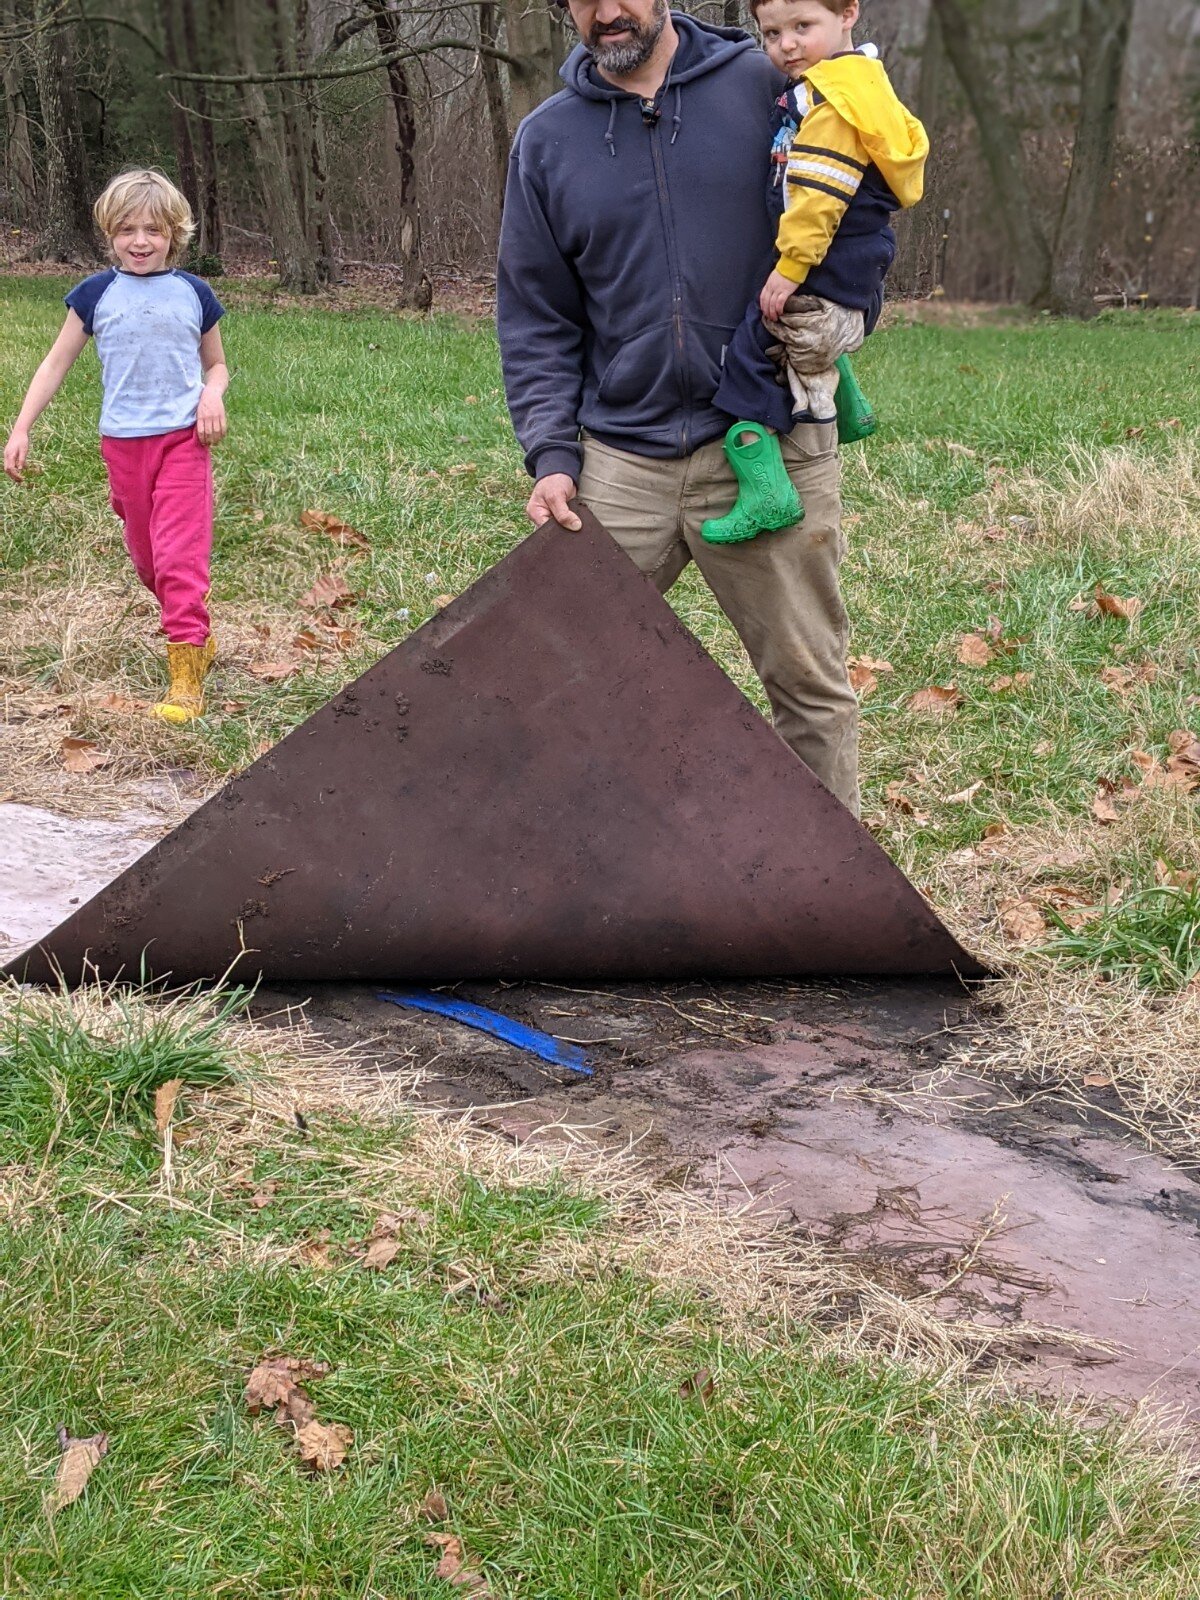
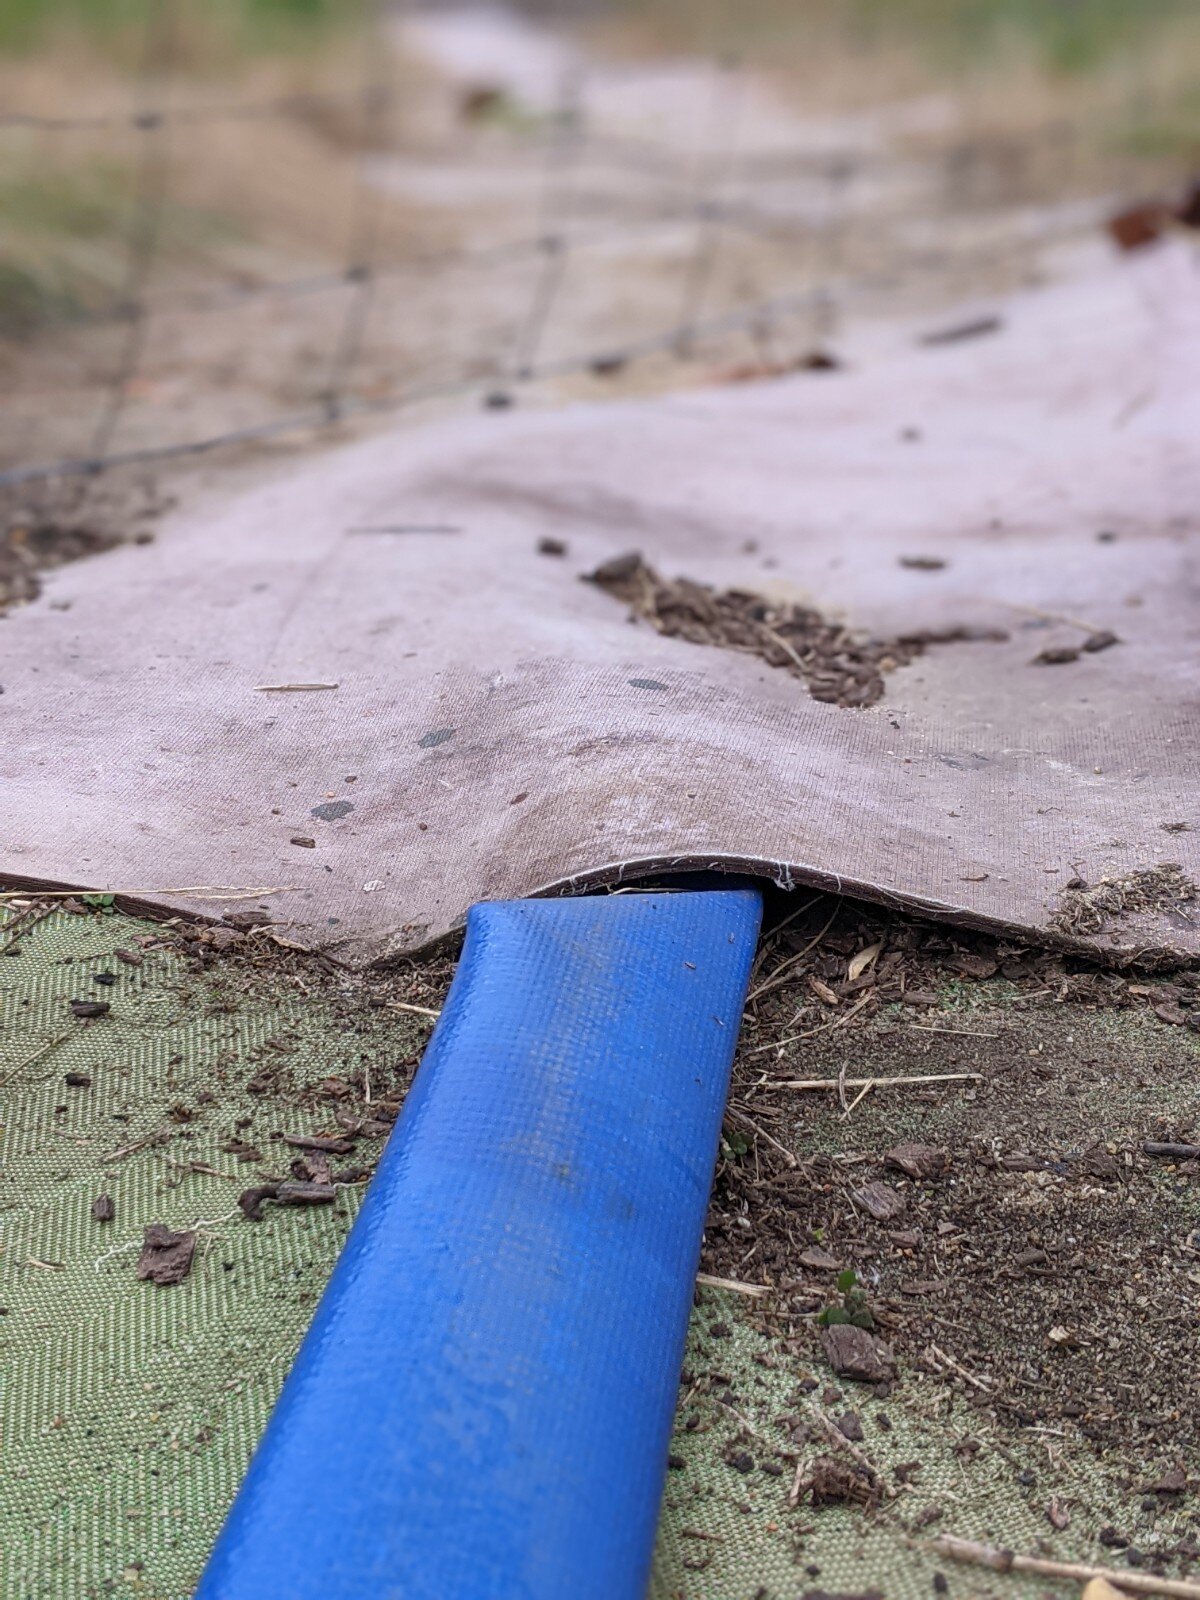
We’ve also had to get creative because our Great Pyrenees enjoys chewing on (ev.er.y.thing…including) the hose that runs from the tank to the fenced garden. We’ve had success by blocking the front of the tank with wooden pallets and covering the layflat hose with upcycled conveyor belt material. (See photos below.)
How can you plan your water collection system?
Place your rain barrels in logical locations. If you’ll be using the water for thirsty chickens, then collect the water on your chicken coop. If the water is for your garden, make sure it’ll be flowing downhill to your beds. You know…work smarter, not harder.
Be creative. A well-placed gutter is well worth the time it takes to install.