Homemade Play Dough

Looking for a cheap indoor activity that’ll keep your kids entertained on a rainy day? My suggestion: make homemade play dough together.

Why make your own?

  1. If your household is anything like ours, play dough lasts for approximately one afternoon. The kids take it out, mix all the colors into a gray/brown blob, abandon that blob for another toy, and forget about it until the next day when it’s morphed from play dough to more of a play chalk. The good news about the homemade stuff is it stays hydrated way longer because of the oils.

  2. Making your own is way cheaper than buying it from the store. With the recipe below, you can make a play dough ball about five times bigger than a standard clump of play dough you’d get from the store.

  3. You can eliminate those little plastic cylinders AND the carbon footprint of however far the play dough was transported.


The yellow clump you see on the left is a standard sized piece of play dough you’d get in one of those containers from the store. The big greenish ball to the right was how much I ended up with after making the recipe below.

How to make it

Ingredients:

  • 1 cup all-purpose flour

  • 1/3 cup salt

  • 2 TSP cream of tartar

  • 1 cup water

  • 1 tbsp oil (I used avocado, but Vegetable would work)

  • gel food coloring

  • essential oils

DIrections:

  1. Throw your flour, salt, and cream of tartar into a saucepan.

  2. Stir the water, oil, and a few drops of food coloring into the flour mixture. (I added 8 drops of food coloring.)

  3. Turn your burner on medium low, and stir your concoction until it resembles play dough and begins to cling to the spoon. (This took me about 4 minutes. Prepare for a bit of a workout as the dough solidifies.)

  4. Remove the clump of play dough from the pot and let it cool on a plate.

  5. Once your dough is cooled, add a few drops of essential oils if desired. (I added 10 drops.)

  6. To make different color/scent combinations, repeat steps 1-5 with different essential oils and food dye colors.

How to store it

You could keep it in a gallon-sized zip top bag or a reusable plastic container with a lid. We originally made four different colored balls of the stuff, but the kids mixed them pretty much immediately, as is their custom. Pro tip: consider choosing colors and scents that blend nicely together. (The four colors we used mixed into a pretty purple color.)

Freezing Bell Peppers

Do you have more peppers than you can handle? Do you, like me, feel terrible when food goes to waste? Bumper crops are a blessing…until they leave you overwhelmed, frantically scrolling through recipes, searching for ways to use them. If these truths are hitting home for you, it’s time to make use of your freezer, my friend.

Super Simple Process

The great thing about bell peppers is that you can freeze them with very little preparation. Just grab a knife, cutting board, and baking sheet, and get started!

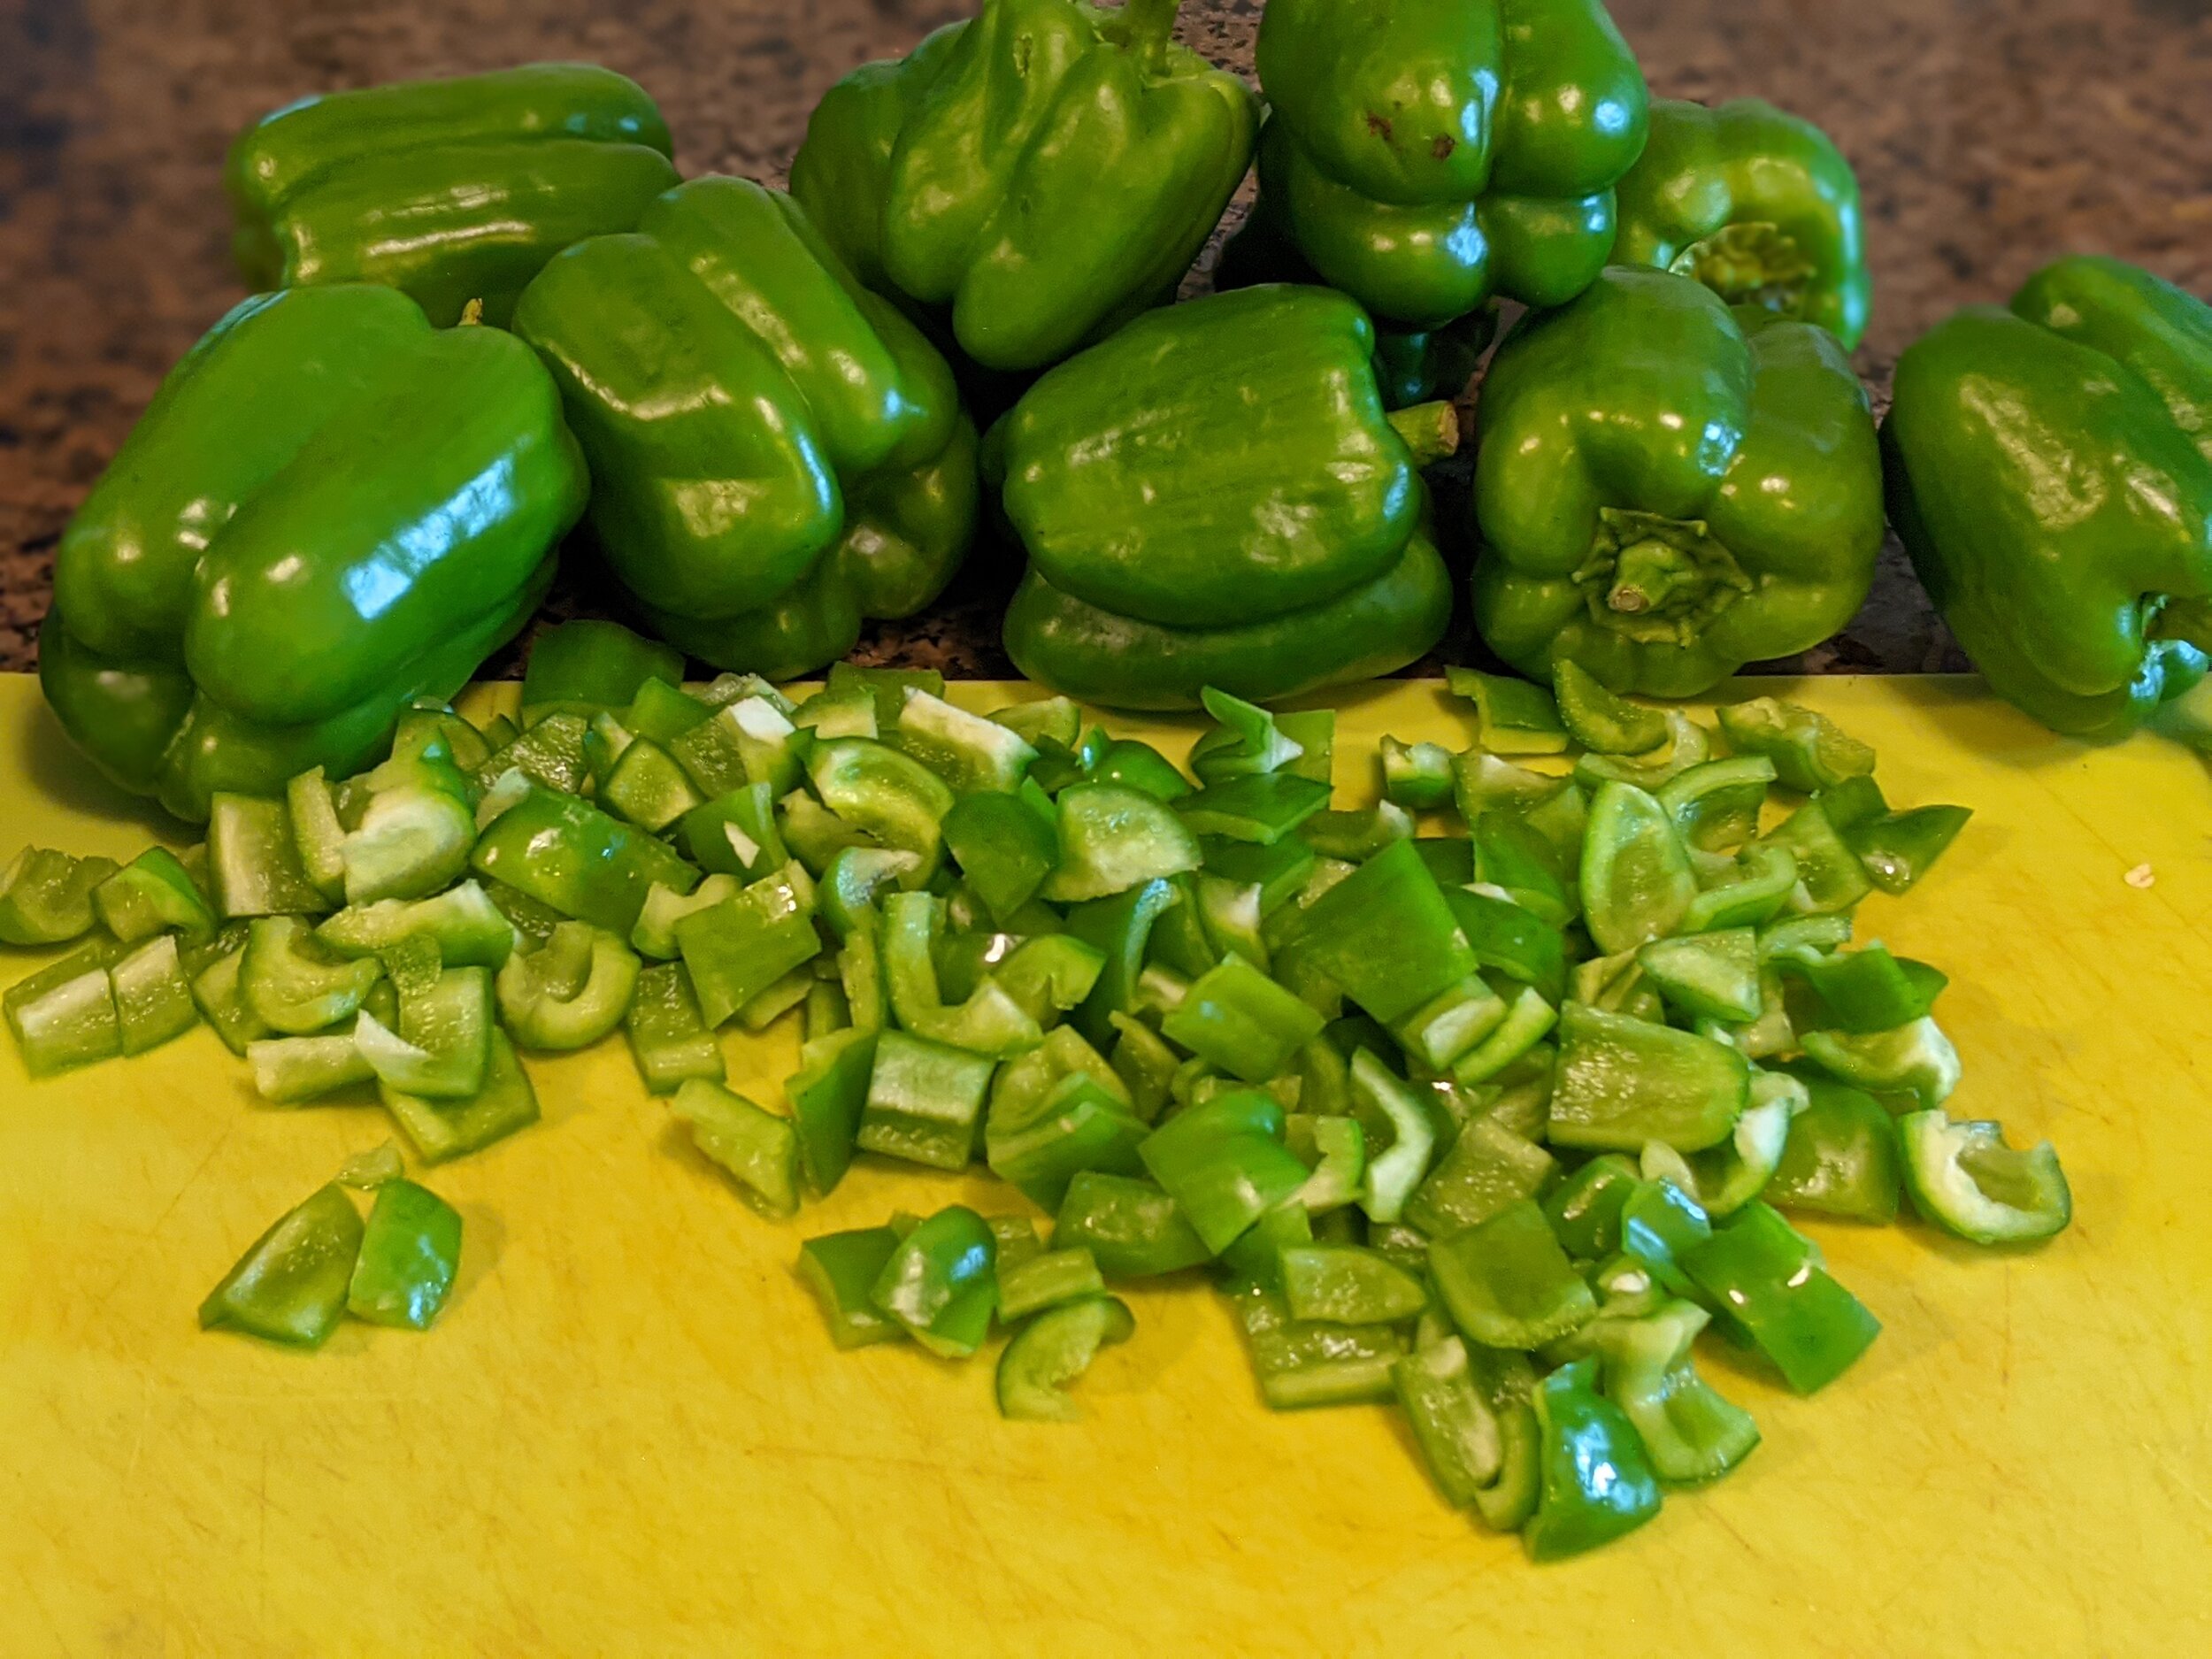
Step 1: Rinse and dry your peppers.

Step 2: Chop up your peppers however your little heart desires.

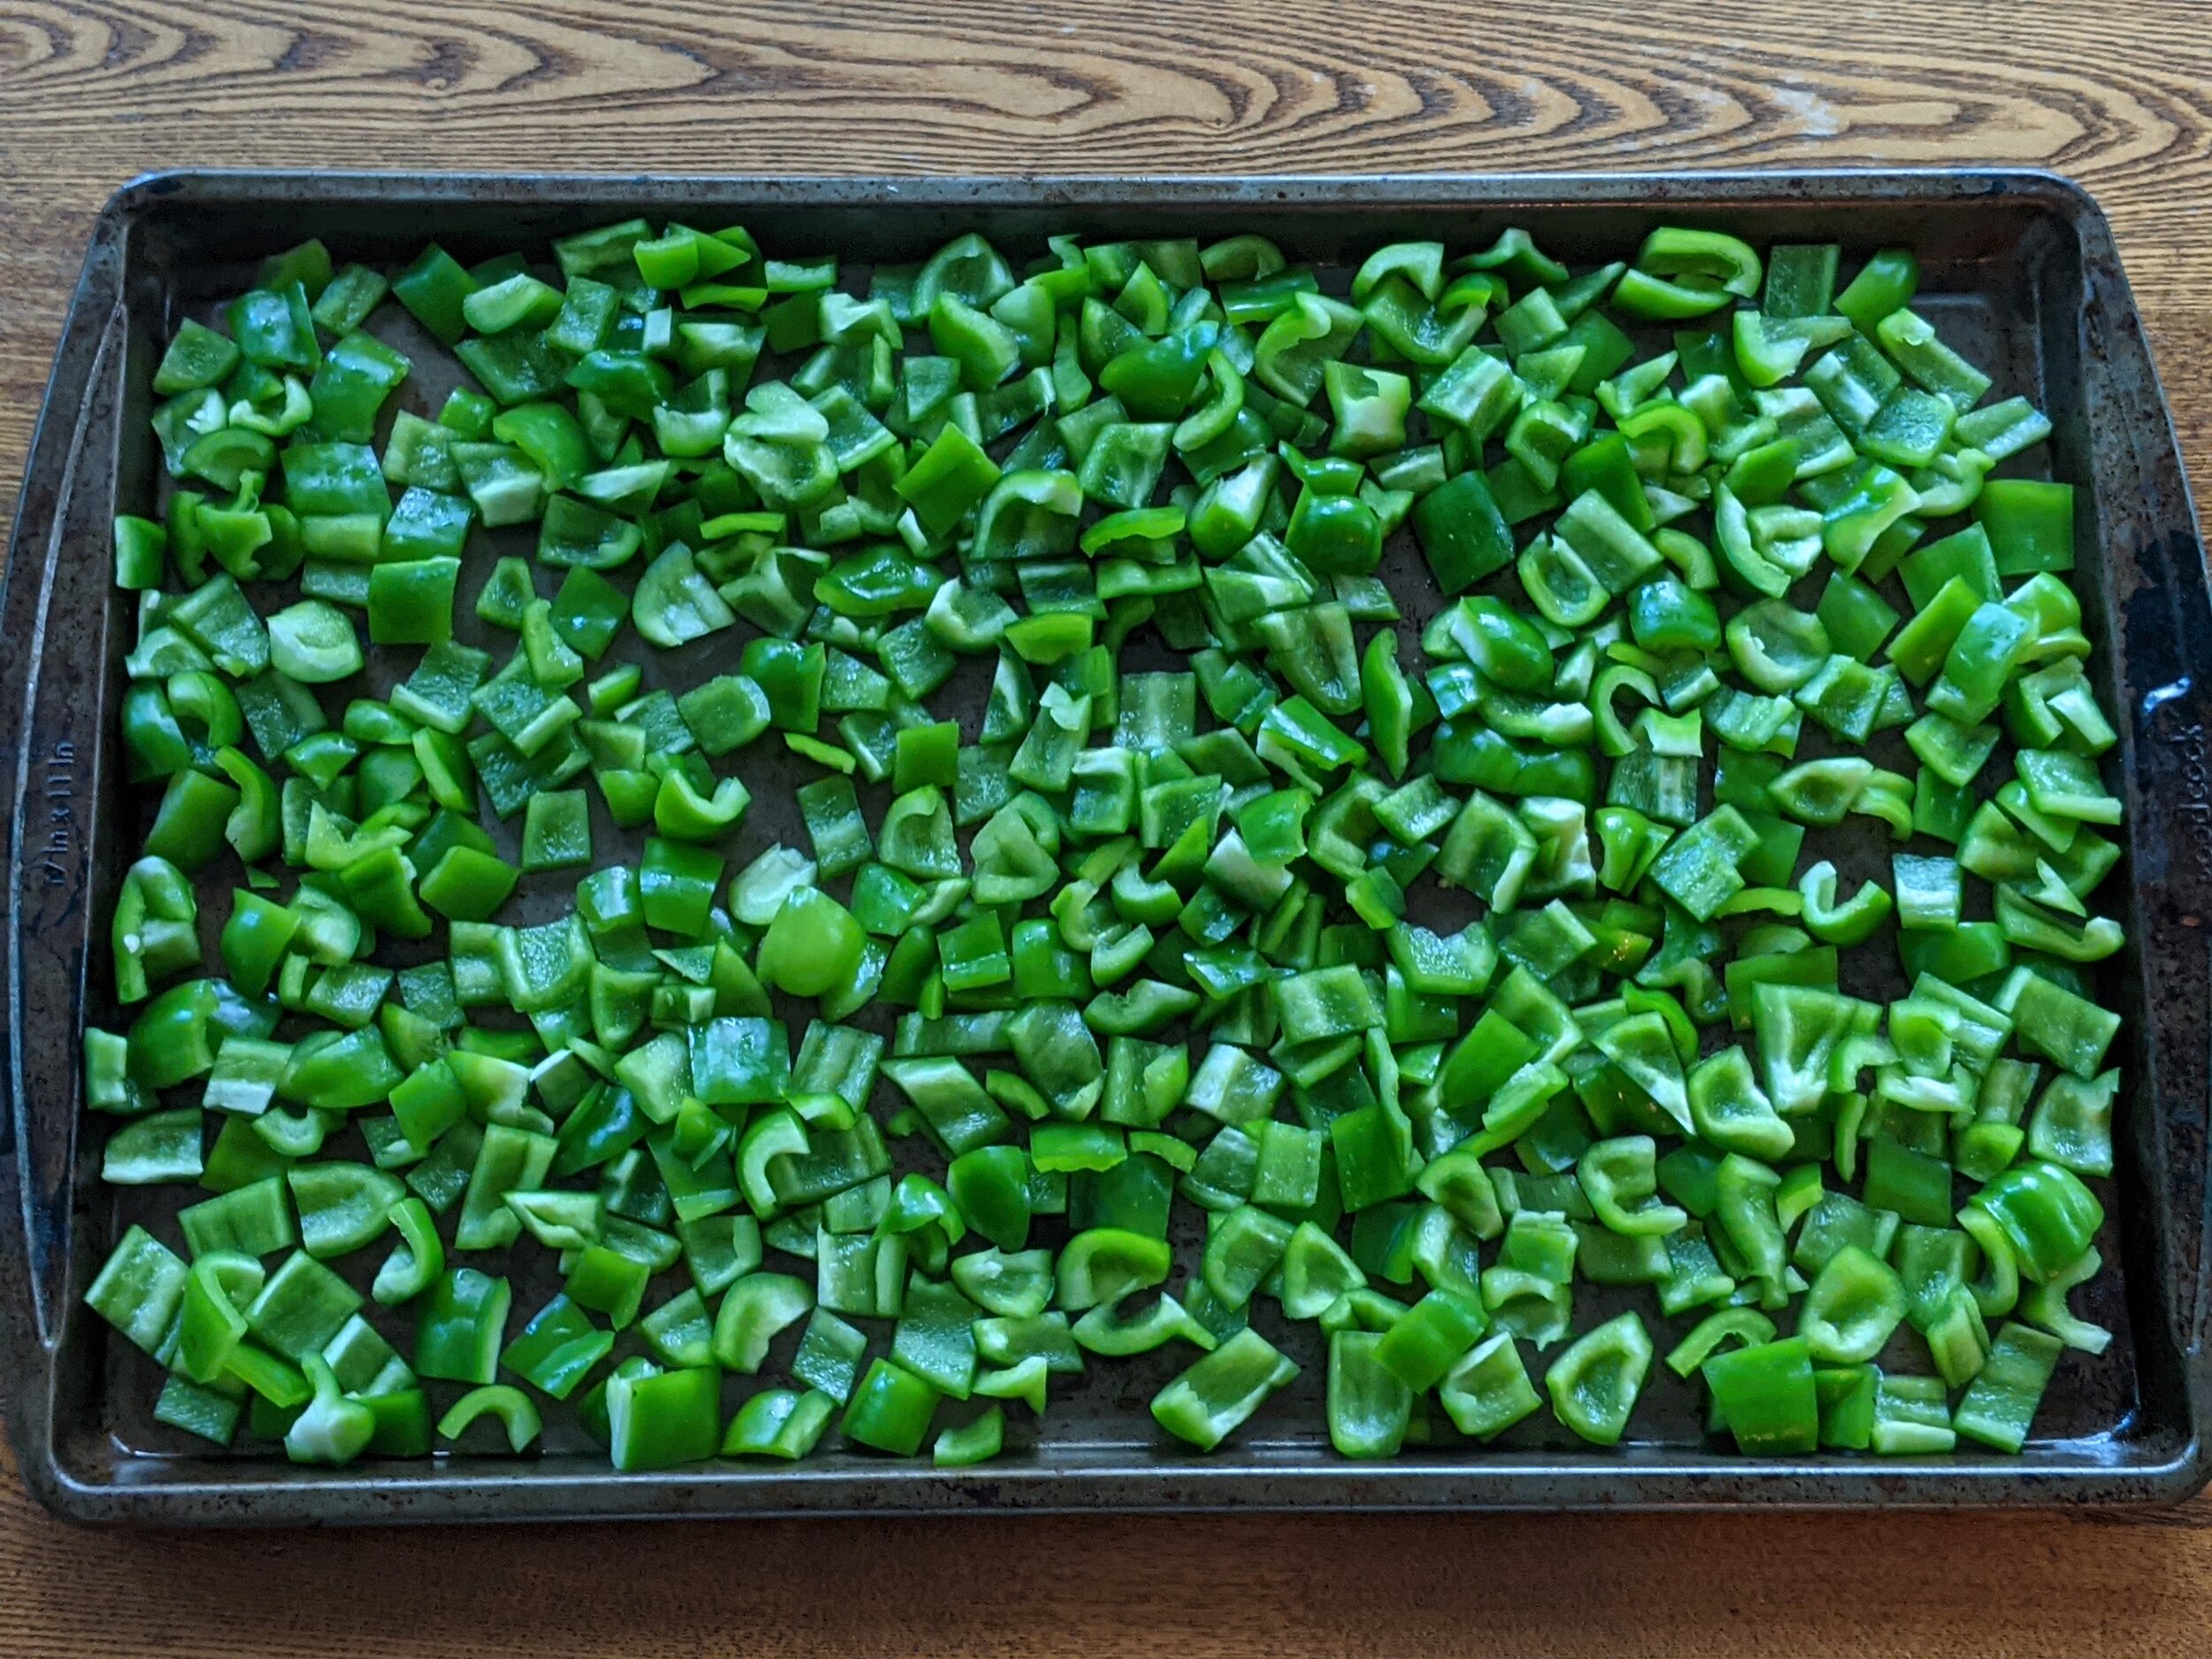
Step 3: Spread the chopped peppers out on a baking sheet.

Step 4: Throw the baking sheet into your freezer for about an hour.

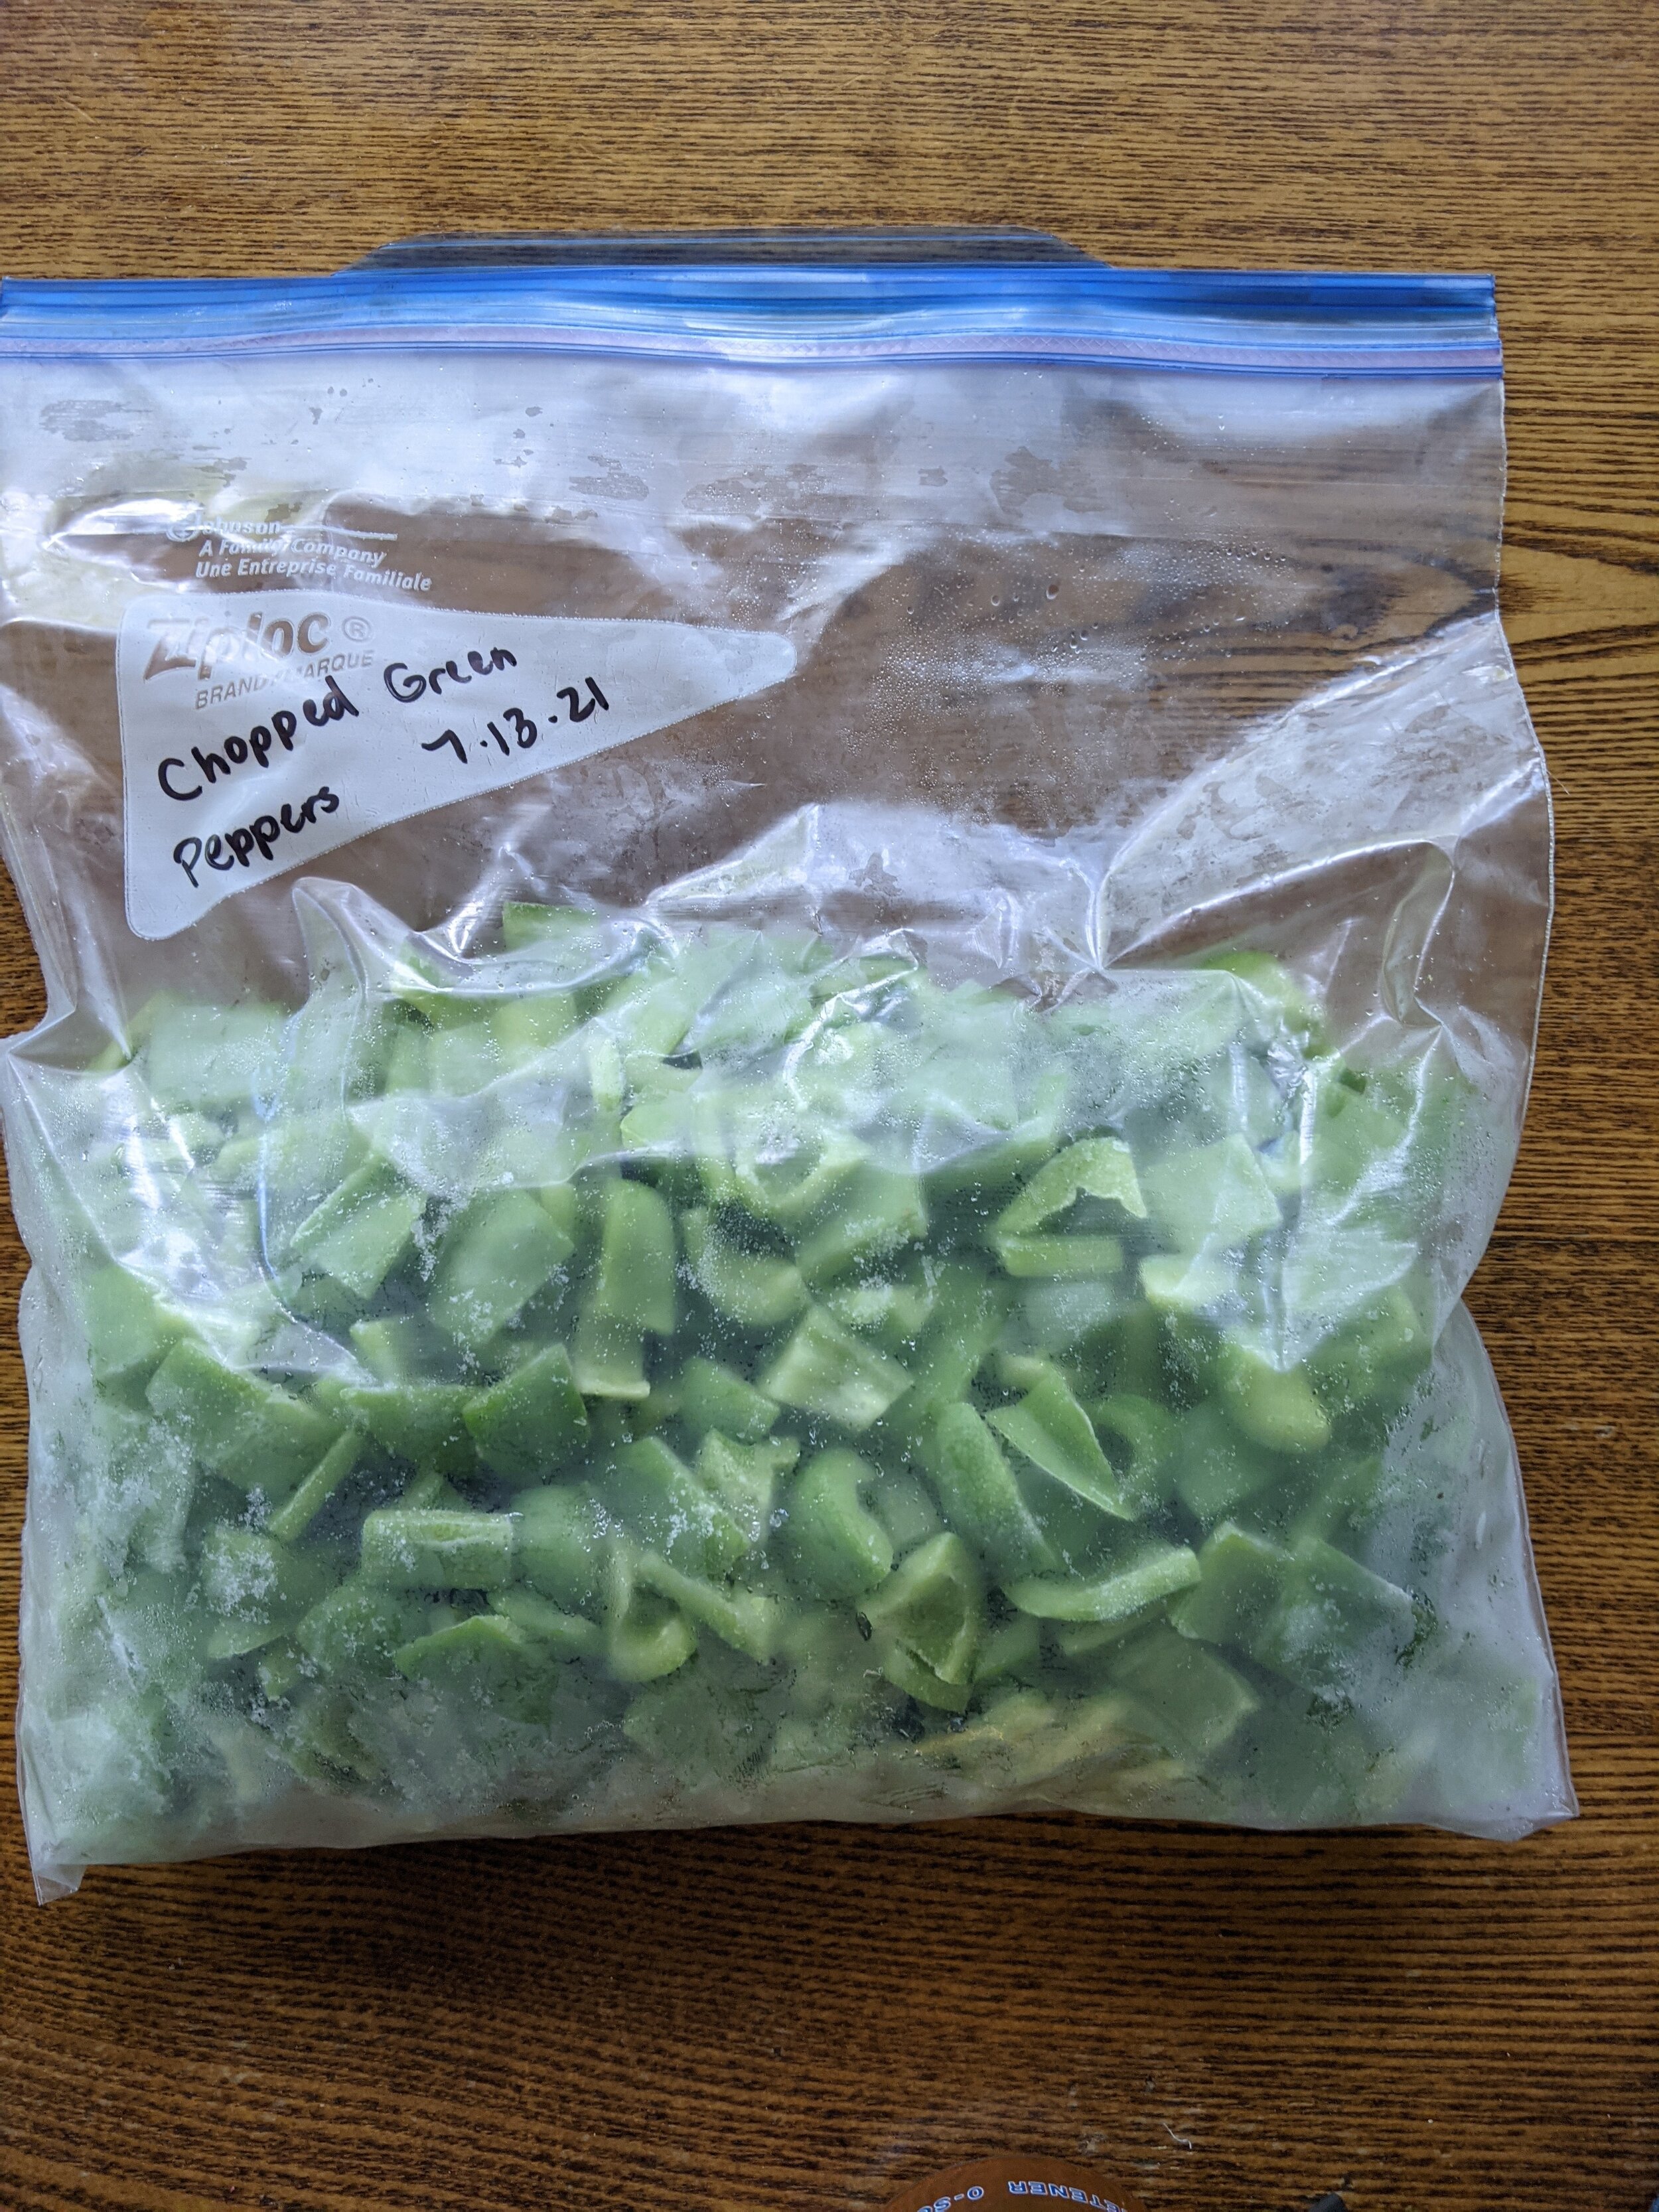
Step 5: Store the frozen chopped peppers in a freezer bag in your freezer until you need them.

Using Frozen Peppers

I cook with frozen peppers pretty much exactly the way I would raw peppers, except that I allow for slightly more cooking time. Because the peppers bits are frozen individually on the tray before they’re put into the bag, they’re easy to scoop out of the freezer bag when you need them. Your peppers should last in the freezer for a year.

Perks of Freezing Your Peppers

Freezing your peppers with this method is doing a favor for future you. You’ll be making a recipe in November that calls for peppers, and you’ll say to yourself, “I need a quarter cup of bell peppers, self!” Next thing you know, you’ll be reaching into your freezer and voila! The prep work of chopping your peppers has already been done! You’ll thank your past self and move on with your life.


Read more about Fail Better Farms!

Kale Cubes: The Answer You've Been Looking For

Why make them?

Kale is a healthy green. If your children are anything like mine, it’s sometimes a fight to get them to consume healthy greens. Kale cubes are a great solution for sneaking greens into other dishes like soups, sauces, or smoothies.

How to make them?

Simple! You seriously just blend kale leaves and water together. Then freeze. Here. I’ll make it look like a recipe so you take me seriously:

Ingredients and Materials:

  • 1 bunch kale (or other hearty leafy green)

  • 2-3 cups water

  • ice cube trays (or other freezable containers)

Directions:

  1. Remove kale leaves from stems, and place a few handfuls of kale leaves into blender.

  2. Add 1-2 cups of water to the blender.

  3. Blend kale and water until kale bits are pulverized.

  4. Take the blender jar off the blender base, and use a fork to scoop out the solid bits of kale and pack them into the cells of the ice cube tray. (At this point, leave the green juice in the blender jar.)

  5. Add a few more handfuls of kale to the blender, and pulverize again. (Add more water if needed to get the blender going.)

  6. Repeat steps 4 and 5 until all of your kale is blended up and the solid bits of kale are packed into ice cube trays.

  7. pour the green juice over the ice cube trays.

  8. After the kale cubes have frozen, store the cubes in a zip-lock bag in the freezer, and use within six months.

How to use them?

  • I’ve been adding 4-6 kale cubes to our morning smoothies, and I make sure to also add dark berries so the kids don’t notice the green color of the kale. So far, so good.

  • I added 6-8 cubes to a marinara sauce the other day, and no one was the wiser. Mwahaha!

  • I’m planning to tuck these cubes into soups as we move into the cooler months.

Watch My Video!


Learn More About Fail Better Farms

Source: failbetterfarms.com

How to Make Your Bath Water Smell Like Heaven and Look Like Death

I’m all about trying to make stuff special for my kids. I’m full of these ideas on cute activities we can do together. Let’s make bath bombs! That’ll be a hit! Right?

Wrong.

If you follow the directions I followed, you don’t end up with bath bombs; you end up with bath sludge. It smells amazing, but it’s nothing that remotely resembles those cute spherical fizzy-producers that you’d actually want to give your kids. To see how hard I failed on this project, read my step-by-step guide below.

Ultimate Bath Sludge Recipe

Step 1: Mix together 1 cup baking soda, 1/2 cup epsom salt, and 1/2 cup cornstarch in a large bowl.

Step 2: Mix 2.5 tablespoons melted coconut oil, 3/4 tablespoons water, and 12-15 drops essential oils (I used equal parts clary sage, copaiba, and geranium, which created a divine blend.) in a medium bowl.

Step 3: Add the wet ingredients to the dry ones until they meet the consistency of a gooey slime.

Step 4: Slowly add 1/2 cup citric acid to the slime. Panic because the fizzing, which is supposed to occur when you pop these bad boys into the bathtub, is already happening. Uh oh.

Step 5: Attempt to form your sludge into spheres. Realize immediately that there’s no way this is going to work.

Step 6: Add more citric acid, baking soda, and salt in an effort to absorb the excess liquid. Cackle maniacally as your science experiment bubbles out of your control.

Step 7: Pivot. (Word of the year?) Decide maybe instead of making separate bath bombs, you can create a sheet of bath bomb matter that could possibly be salvaged if broken up after it dries. (Bath bomb bark is more seasonally appropriate anyway, right?) Spread the substance into a pan lined with parchment paper, and, while you’re at it, add some drops of food coloring just to see what happens. Sit the tray outside in an attempt to dry it. A little fresh air and sunshine might do it good, after all. (See image below.)

PXL_20201213_184714381.jpg

Step 8: After waiting over 24 hours and seeing the Plan B “bath bomb bars” were still the consistency of mud, throw up your hands and dump your strange creation into a cute jar. (See below.)

bathbombmess.jpg

Step 9: Shovel out a few clumps of the concoction under warm running water in the bathtub. Persistently yet lovingly shepherd your kids into the brown bath water.

Step 10: Field questions from your indignant kids and confused husband. (Ex: “Wait…what is that stuff? Why is it so hard to scrape out of the jar? Why is the bath water already dirty?”)

Lesson

I’m not Pinterest-worthy a majority of the time. (Those of you who know me best might laugh out loud at that understatement.) In all honesty, my mom-game can be best likened to a frantic round of whack-a-mole. However, I will do my best to lean into failing better. As far as I can tell, it’s the only way to live. No matter how this year blessed you or abused you, dear reader, may your Plan B bring you laughter.

The Free, Effective Answer to a Funky Humidifier

Disclosure: This post may contain affiliate links, which means I may earn a commission if you click a link and make a purchase. Feel free to check out my disclosure policy for more details.

Because my son suffers from respiratory issues, it’s important that we keep his humidifier clean. Although we were changing the filter regularly and keeping the filter tray clean, I noticed a funky yellow substance building up in the bottom of the water tank. The trouble with our particular model was that I couldn’t open up the water tank to effectively clean it.

What didn’t work for us?

  • I tried all sorts of bendy-necked scrub brushes. They worked…but only as far as they could reach. There were those hard-to-reach areas that stayed coated in a yellow film, and the newly cleaned spots just served to emphasize how gross the dirty spots were.

  • I tried vinegar and baking soda, which provided me with a fun, explosive mommy playtime in the kitchen. Aaron and the kids ran in after hearing loud pops followed by me whooping hysterically. Maybe the baking soda and vinegar method worked for other people online because their humidifiers weren’t as filthy as mine, but it didn’t make a dent in my yellow scum.

  • I tried bleach as a final measure. I figured bleach would lay the hammer down and wipe this bad boy clean. I was wrong. It hardly touched the funk.

What finally worked?

Driveway gravel. As a last-ditch effort, I walked out to the driveway, grabbed a handful of gravel, threw it into the water tank, shook it around until all the gunk was gone, and rinsed out the tank. It was noisy, free, simple, quick, and 100% effective.

Banner 728x90

Squeezing Every Penny

DISCLOSURE: THIS POST MAY CONTAIN AFFILIATE LINKS, WHICH MEANS I MAY EARN A COMMISSION IF YOU CLICK A LINK AND MAKE A PURCHASE. FEEL FREE TO CHECK OUT MY DISCLOSURE POLICY FOR MORE DETAILS.

My kids, particularly my 2-year-old son, are hooked on applesauce pouches. Sometimes applesauce is literally the only thing my son will agree to eat. Because I’m aware of how damaging single use plastic can be to the environment, a growing feeling of guilt was gnawing at me. Solution? Purchase refillable pouches. This way I avoid creating unnecessary waste and I save a few bucks.

Cost Analysis

I bought 10 pouches from Amazon for $9.99. Store bought, disposable applesauce pouches cost about $7.49 for twelve 3.2 ounce pouches ($0.20 per ounce). A 48 ounce glass jar of generic applesauce costs $2.79 ($0.06 per ounce). As long as I use the refillable pouches twice, they pay for themselves. Also, the empty glass applesauce jar can be washed and reused indefinitely.

Store bought, disposable yogurt pouches cost $1.69 for one 3.5 ounce pouch of yogurt ($0.48 per ounce). A 32 ounce container of yogurt costs $3.99 ($0.12 per ounce). Again, using the pouches for yogurt creates immediate savings. I realize I’m committing the ultimate sin because I’m still creating plastic waste, but positive change happens one step at a time.

Picking and Choosing

Another perk of filling your own pouches is that you can fill them with whatever you want. Some of the pre-loaded applesauce pouches I’ve seen at the store contain sugar or high fructose corn syrup. I opt for boring sugar-free applesauce and organic yogurt. You could go absolutely wild with what you jam into these bad boys, though. If you can turn a food into a slurry, you can deliver it to your child with one of these pouches.

Cleaning

I wash the pouches at the end of each day, which requires a bottle brush and a straw cleaning brush. I doubt they’d be cleaned effectively in a dishwasher because of their design. They clean up easily enough by hand, but it’s one more item to add to your to-do list, which I understand may already be overflowing. If time is money in your world, these may not be the best choice for you.

00000IMG_00000_BURST20200314111953612_COVER.jpg

Fail

This is what failing better looks like. The fail is that we were creating unnecessary waste and throwing money away.

Better

We saw the error of our ways, spent a little time researching, and modified our lives to make better decisions.

Best Face Mask

DISCLOSURE: THIS POST MAY CONTAIN AFFILIATE LINKS, WHICH MEANS I MAY EARN A COMMISSION IF YOU CLICK A LINK AND MAKE A PURCHASE. FEEL FREE TO CHECK OUT MY DISCLOSURE POLICY FOR MORE DETAILS.

I’ve used a bunch of store-bought face masks over the years with lackluster results. Guess what? The answer I’d been looking for is simple and affordable. No joke. If you want a deep clean that sucks all the garbage out of your pores, you need to try this DIY mask.

  1. Combine calcium bentonite clay with apple cider vinegar until you get the consistency you want. I like combining the ingredients in a glass container with a lid, which I just keep in the bathroom cabinet.

  2. Leave the mask on for about 15-20 minutes. I personally enjoy the I-can’t-really-move-my-mouth-when-I-talk feeling, and I know Aaron gets a kick out of it too. One thing you’ll want to avoid is keeping it on for too long because it’ll leave redness behind.

  3. Rinse off the clay mask with a damp cloth.

  4. Wonder how you ever before considered your face to be clean.